About Me

My photo
London, United Kingdom, United Kingdom
A mythical beast - a female wargamer! I got back into wargaming in the summer of 2011 after a very, very long break and haven't looked back since. I must admit that I seem to be more of a painter/collector than a gamer, but do hope to correct that at some point in the near future. My gaming interests span the ages, from the "Biblical" era all the way through to the far future. I enjoy games of all sizes, from a handful of figures up to major battles (see my megalomaniacally sized Choson Korean and Russian Seven Years War armies).

Tuesday 23 July 2019

Tuesday Workbench 23 July


And they're almost done - just the central designs to paint on the flags left to do, which I should be able to knock out tomorrow morning. After that it will be varnishing time before I make a start on painting some rear-rank troops to go on their bases. Which just leaves the rest of the infantry for the flanking bases. If all goes well, I should have all the figures painted within a fortnight when I can look forward to a mass basing session.


Friday 19 July 2019

Friday Update 19 July

Well, that didn't quite go to plan. I left you ten days ago with the first batch of SYW Russians just needing touch-ups and highlighting. I ended up not touching them again until today. They are done now, and varnished with just the standards to be painted.

I've also made a good start on the next batch:


As you can see, I've pulled out all the sticks with command figures and will be painting them as a group. The next batch after this will be some musketeers to for the rear ranks of the command bases. By doing this I will be able to field regiments with the correct standards for the Kunersdorf game, even if I haven't got all the musketeers painted, just by swapping these command groups for the ones in existing regiments. Just in case.

There are a number of reasons why there was a long interruption to the painting. Primarily it was getting distracted by a bit of historical research, map-making, scenario planning, watching the Tour de France, reading...

I think I have got the distractions under control now and should be able to make good progress. Oooh! Squirrel!

Tuesday 9 July 2019

Tuesday Update 09 July

Since posting the pics of Adonis with his mates, I realised that the colour schemes looked quite different. Yesterday I went back and did a little bit of work with the airbrush to tone down the green on Ace and demon and to brighten the green on Asp. Once I was happy with the look I "dusted" them with a light brown. They now look much closer to Adonis, but still with subtle differences.


With that done, I decided it was high time to start work on the SYW Russians. I did a little bit yesterday and continued today.


They just need touching up, highlighting and some detailing. I'll be leaving the standards unpainted until all of the units are finished, then do them in one session.


I've also been having a rethink on the Paras' painting scheme. I made a bit of a mistake with the WW2 Aussies, doing more highlighting steps than was absolutely necessary. So I am tempted to go with a much simpler base coat, wash and some highlights. I might also do some zenithal highlights over the black primer.

Sunday 7 July 2019

Finished: 28mm "Adonis"


I varnished the commander this morning and glued him into his hatch, so it was time for a quick photo shoot.


And introducing him to his 1 Troop brothers:


And his cousin Demon from the 1st Armoured Reconnaissance Squadron:


I've also gunked the bases for the latest batch of Artizan and Crusader Paras:


When the gunk has fully dried I will glue the prone PIAT loader and the 3" mortar onto their textured bases; the Vickers MMGs and 6 pounder will be painted off-base to make it easier to paint the gunners.


Saturday 6 July 2019

Para Test Paints

With my workbench finally clear of hedges, I decided today to do a bit of painting.

I started off by painting the commander for my recently painted Matilda II:


He just needs to be varnished and glued into his hatch.

As he was finished quite quickly, I grabbed one of the Warlord Paras to do a test of the painting scheme. I realised quite quickly (mostly before I actually began painting)that some of the colours I'd chosen wouldn't look quite right with the painting style I am intending to use (only using washes for flesh and select items), so I quickly substituted colours that would work.

Here is the first test figure:


I didn't like the ground colour, so I repainted it - much better.
There are a number of things that I'm not happy with, so I've made appropriate changes to my scheme:

* replace Pale Sand with Sand Yellow as addition colour for brown highlights
* webbing colour too dark - replace Reflective Green with German Uniform
* modify Denison colour patches slightly
* add a Sepia wash as final step for toggle rope

The beret colour and flesh came out well though!

However, a lot of the Paras would still be wearing 1st pattern Denison which has a more yellow-brown base colour, rather than the pale olive of the 2nd pattern. I decided to try a couple of different colours to see which came close to the look I wanted:

Tan Yellow; Japanese Uniform; Brown Sand
Each of the colours above was highlighted in two steps by adding Sand Yellow and then Pale Sand. The colour I was aiming for is somewhere between the Japanese Uniform and Brown Sand. I ran a test on another figure, using two additions of Sand Yellow to highlight:

Tan Yellow; Ochre Brown

Japanese Uniform; Ochre Brown

Brown Sand; Ochre Brown

I think I have my scheme pretty much nailed now:


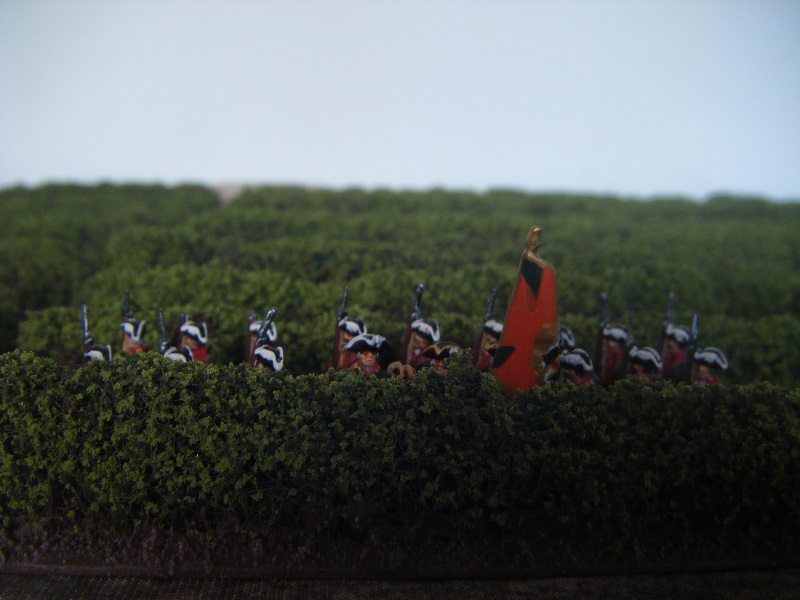
Tomorrow I will be re-blacking the test figures I painted today and adding basing gunk to this lot:


They will get primed on Monday, then I can get the SYW Russians out and start painting them.


Friday 5 July 2019

Hedging My Betes

No, that's not a typo in the title. These hedges have been my Bêtes noire for the past week. The initial flocking glue took longer than expected to dry. Then the sealing coat of PVA mixed with matte medium took even longer to dry, mostly because so much got absorbed by the foam flock and into the spaces in the underlying scourer; some which were done on Wednesday morning only dried out this evening. I think part of the problem with the amount of sealant used on each one was that I applied it by pipette as my spray bottles just didn't want to work with it.

All that time they have been taking up all the space on my workbench, so I haven't been able to work on anything else. Well, not quite - I have prepped the extra Artizan and Crusader Paras and prep the bases for the SYW Russians.

But they're done now. Well, the first batch - I've got a similar quantity still to do. I guess you want some pics.

41.5 feet of hedges

28mm figures

15mm figures

15mm figures behind one of the taller sections

OK, so they're not prize-winning, super-realistic hedges. But they are good enough for club terrain which will see a lot of use and abuse. Tomorrow I'll have to buy some storage for them.


Making these has been a useful experience and has made me think about how I can improve the process. These are my initial thoughts:
* precoat the scourers with a mix of PVA and brown paint before cutting the strips
* "untidy" the scourer strips before sticking them onto the tongue depressors
* add the texture mix to the tongue depressors before sticking down the scourer strips
* stick the scourer strips down using brown caulk while the texture mix is still wet
* use the PVA/paint mix to stick the flock - might need to lighten the flock mix as the paint could darken it
* find a spray bottle that will work with the PVA/matte medium mix